
How to Set Up Your Prebuilt Gaming PC the Right Way
stephen davidson
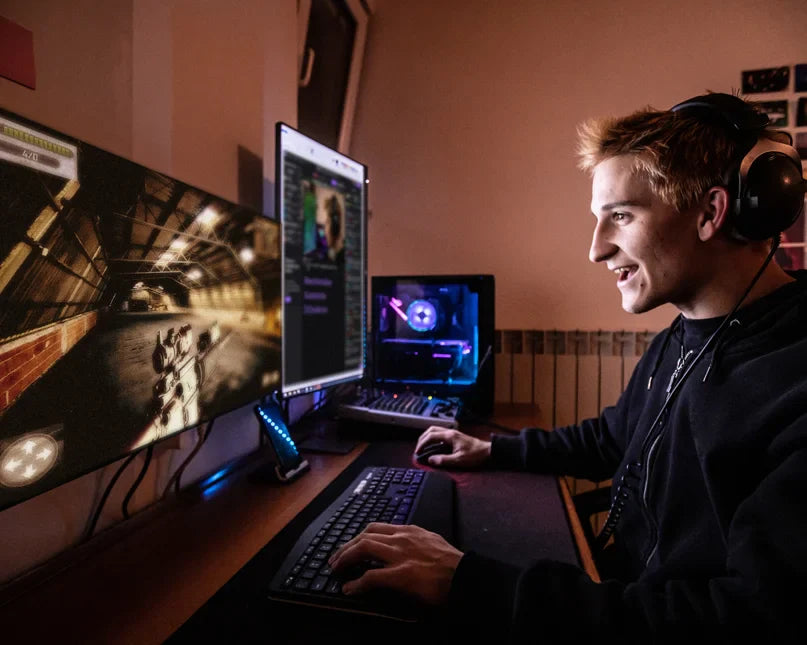
Setting up a new gaming PC is one of the most exciting moments for any gamer. Whether you have purchased a prebuilt gaming PC or upgraded to a newer model, knowing how to set it up correctly ensures you get the smoothest performance and longest lifespan out of your investment.
Many beginners wonder, “What’s the right order to connect everything?” or “How do I optimise settings for the best gaming experience?” This blog covers everything you need to know about a gaming PC set up — from unboxing and cable management to essential software installation and performance optimisation.
If done correctly, your computers set up for gaming will not only look professional but also give you the speed and stability you need to dominate your favourite titles.
Why Setting Up Your Gaming PC Properly Matters
When someone buys a brand new gaming PC, it’s tempting to jump straight into gaming. However, skipping the correct setup process can lead to issues such as poor cable organisation, overheating, or missing driver updates. A correct gaming PC set up ensures:
-
Improved system performance and stability
-
Optimal cooling for your components
-
A clean and organised workspace
-
Faster gaming without unnecessary delays or crashes
Think of the setup stage as building the foundation for your gaming experience. Without it, even the most powerful custom built gaming PC can fail to perform at its best.
Step 1: Unboxing Your Prebuilt Gaming PC the Right Way
The process of setting up your new prebuilt gaming PC begins the moment you open the box. Handle everything carefully to avoid damage, and check that you’ve received all items.
What to Look for Inside the Box
-
The gaming PC tower itself
-
Power cord and possibly HDMI or DisplayPort cables
-
Manuals and warranty information
-
Accessories such as Wi-Fi antennas, screws, or additional filters
If your box includes protective padding inside the machine, carefully remove it before powering on the system. Many prebuilt gaming PCs ship with foam inserts to protect components during delivery.
Step 2: Choosing the Perfect Space for Your Gaming PC Set Up
One aspect that gamers often overlook is the actual location of their PC set up. Placing your gaming PC in the right spot can make a huge difference in cooling, accessibility and comfort.
Tips for Your Gaming PC Placement
-
Ensure there’s good airflow around the case
-
Keep it away from direct heat sources like radiators or sunlight
-
Use a sturdy desk or stand that can handle the weight of your tower
-
Allow easy access to USB ports for peripherals
Your computer set up for gaming should prioritise airflow and convenience. A clutter-free desk not only looks better but also supports longer gaming sessions without overheating issues.
Step 3: Connecting the Essentials for Your Gaming PC Set Up
The next part of your gaming PC set up is connecting all the necessary components.
What Do You Need to Connect?
-
Monitor (via HDMI, DisplayPort, or DVI cable)
-
Keyboard and mouse
-
Headset, microphone or speakers
-
Ethernet cable or Wi-Fi antenna
-
Power cable to the main supply
For gamers who choose a custom built gaming PC, this step may involve additional accessories like extra cooling systems, RGB lighting hubs or streaming equipment. However, with prebuilt gaming PCs, most connections are straightforward and beginner-friendly.
Step 4: First Time Power-On and BIOS Check
When you first switch on your system, the gaming PC set up process moves into its technical stage.
The BIOS (Basic Input Output System) is the control panel for your hardware. Entering the BIOS allows you to check if your components are running correctly (RAM, CPU, GPU, drives, etc.).
Why is BIOS Important?
-
Confirms all hardware is detected
-
Lets you adjust fan speeds and boot sequences
-
Ensures your PC is ready for operating system updates
While most beginners don’t need to tweak BIOS settings extensively, confirming that your computer is set up for gaming recognises all your components is a crucial first step.
Step 5: Installing Windows and Essential Drivers
Most gaming PCs ship with Windows pre-installed, but you’ll still need to perform updates. Drivers are especially important, as they ensure your graphics card, sound, and internet function smoothly.
What Software Should You Install First?
-
GPU drivers (NVIDIA GeForce Experience or AMD Radeon Software)
-
Motherboard chipset drivers
-
Network drivers
-
Windows security and system updates
Once these are complete, your gaming PC set up will be stable and ready for additional installations like Steam, Discord, and game launchers.
Step 6: Optimising for Gaming Performance
Your PC might already be powerful, but optimising it can help you unlock its full potential.
How to Optimise Your Gaming PC
-
Adjust your in-game settings (frame rate, resolution, graphics quality)
-
Enable Game Mode in Windows
-
Disable unnecessary startup apps
-
Keep GPU drivers updated regularly
The goal is to make your gaming PC set up smooth and responsive while reducing background processes that could drain power or memory.
Step 7: Cable Management and Desk Organisation
A well-organised PC set up doesn’t just look good, it also improves airflow and accessibility.
Try routing cables behind your desk or using Velcro straps to prevent tangles. With neat cable management, you’ll have easier access for future upgrades — whether that’s adding storage or switching components in a custom built gaming PC.
Step 8: Installing Antivirus and Security Tools
While a gaming PC set up is all about performance, you can’t forget about protection. Downloading games from various platforms can sometimes pose security risks.
-
Enable firewall settings
-
Use a trusted antivirus programme
-
Keep Windows Defender active
This way, your prebuilt gaming PC remains secure without compromising gaming speed.
Step 9: Testing and Benchmarking Your Gaming PC
Before launching into long gaming sessions, run a few benchmarks to test the system’s power. Free tools such as Cinebench, 3DMark and even in-game benchmarking modes can help check stability.
Benchmarking helps to ensure your computer is set up for gaming matches with the advertised specifications you paid for.
Step 10: Customising Your Gaming Experience
Now that the basics are sorted, it’s time to make your PC set up truly yours.
-
Add RGB lighting for aesthetics
-
Adjust mouse sensitivity and key bindings
-
Install overlays like MSI Afterburner to monitor CPU/GPU performance
Whether you use a custom built gaming PC or prebuilt, these finishing touches make your setup unique.
Common Mistakes to Avoid During a Gaming PC Set Up
Beginners often make avoidable mistakes that can reduce performance or even damage components.
-
Forgetting to remove foam inserts before powering on
-
Blocking ventilation by placing the PC too close to walls
-
Not updating drivers before playing games
-
Using poor-quality power strips without surge protection
Avoiding these ensures that your gaming PC set up remains safe and high-performing.
Prebuilt Gaming PC vs Custom Built Gaming PC: Which is Better?
Benefits of a Prebuilt Gaming PC
-
Ready to use out of the box
-
Full system warranty from manufacturer
-
No technical knowledge required
-
Usually more expensive
-
Limited customisation options
Benefits of a Custom Built Gaming PC
-
Cheaper if self-built
-
High level of customisation
-
Flexible for upgrades and modifications
-
Warranty applies to individual components only
-
Requires time and technical knowledge
Both options have their benefits. For beginners, a prebuilt gaming PC is the easiest entry into the world of gaming, while enthusiasts may prefer the flexibility of a custom built gaming PC.
Why Choose PCGamingCases for Your Gaming PC Set Up?
At PCGamingCases, we specialise in helping UK gamers find the perfect prebuilt systems and accessories to make their computer set up for gaming hassle-free. Our curated collection ensures gamers don’t have to worry about compatibility issues, messy cables or missing drivers.
From reliable gaming PCs to accessories that complete your desk space, PCGamingCases aims to make your experience simple, affordable, and tailored to your needs.
Final Thoughts on the Right Gaming PC Set Up
Setting up your PC correctly is just as important as buying powerful hardware. From careful unboxing and smart desk organisation to updating drivers and securing your system, each stage contributes to a smoother gaming experience.
A proper gaming PC set up not only improves performance but also provides a cleaner, safer, and more immersive environment for gaming. With the right preparation, your system will run efficiently, stay cool under pressure, and be ready for years of gameplay.